
There are four phases to this furniture restoration project.
Phase 1: Fix Cosmetic Damage (Steps 1 through 6)
When I found this vintage console stereo, it was in rough shape. The legs had broken through the particleboard bottom. So first I had to attach a new plywood base, fill the chips and nicks, hide water damage and address other cosmetic work.
Phase 2: Rebuild The Front Panel (Steps 7 through 14)
The center panel needed to be covered in place. I chose a four-way bookmatch pattern with sequence-matched leaves of figured sapele veneer.
The speaker cloth was faded, so I replaced it with classic black ($18 per yard, parts-express.com) and designed new slats to lay over the top.
Phase 3: Make New Legs (Steps 15 and 16)
I chose sapele for the new legs because it was a good match for the veneer on the front panel. Sapele looks like mahogany and is similar to work with, but often has a pronounced ribbon figure, which I love. I found pre-milled 6/4 sapele at a local lumberyard.
Phase 4: Final Touches (Steps 17 and 18)
I finished the console and update the audio components for modern functionality and high quality sound.
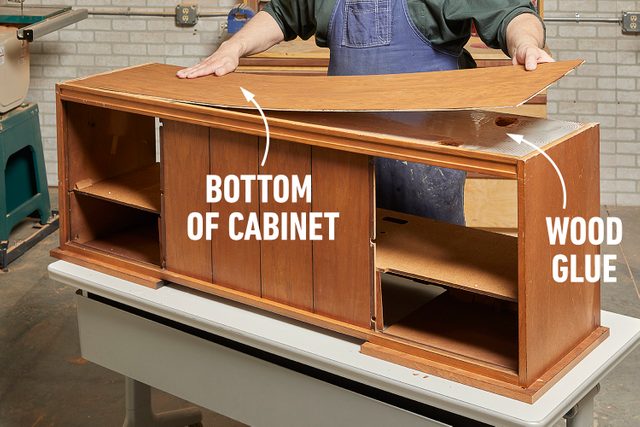
Fit a New Bottom Panel
- To start, attach a new plywood base.
- I predrilled 16 holes in 1/4-in. Baltic birch plywood and spread the glue evenly with a glue spreader.
- Then I screwed the plywood to the old bottom with 3/4-in. wood screws.
- Pro tip: I did this step first because the console had to be upside down, and I needed to repair the top later anyway.
Article source here: How to Restore a Vintage Console Stereo
No comments:
Post a Comment