Log homes have come a long way since the days when pioneer trailblazers made simple shelters out of rough-hewn timbers. Now, trailblazers of a different sort—people looking for distinctive styling, cutting-edge features and natural energy efficiency—seek out log homes for their warm, romantic beauty.
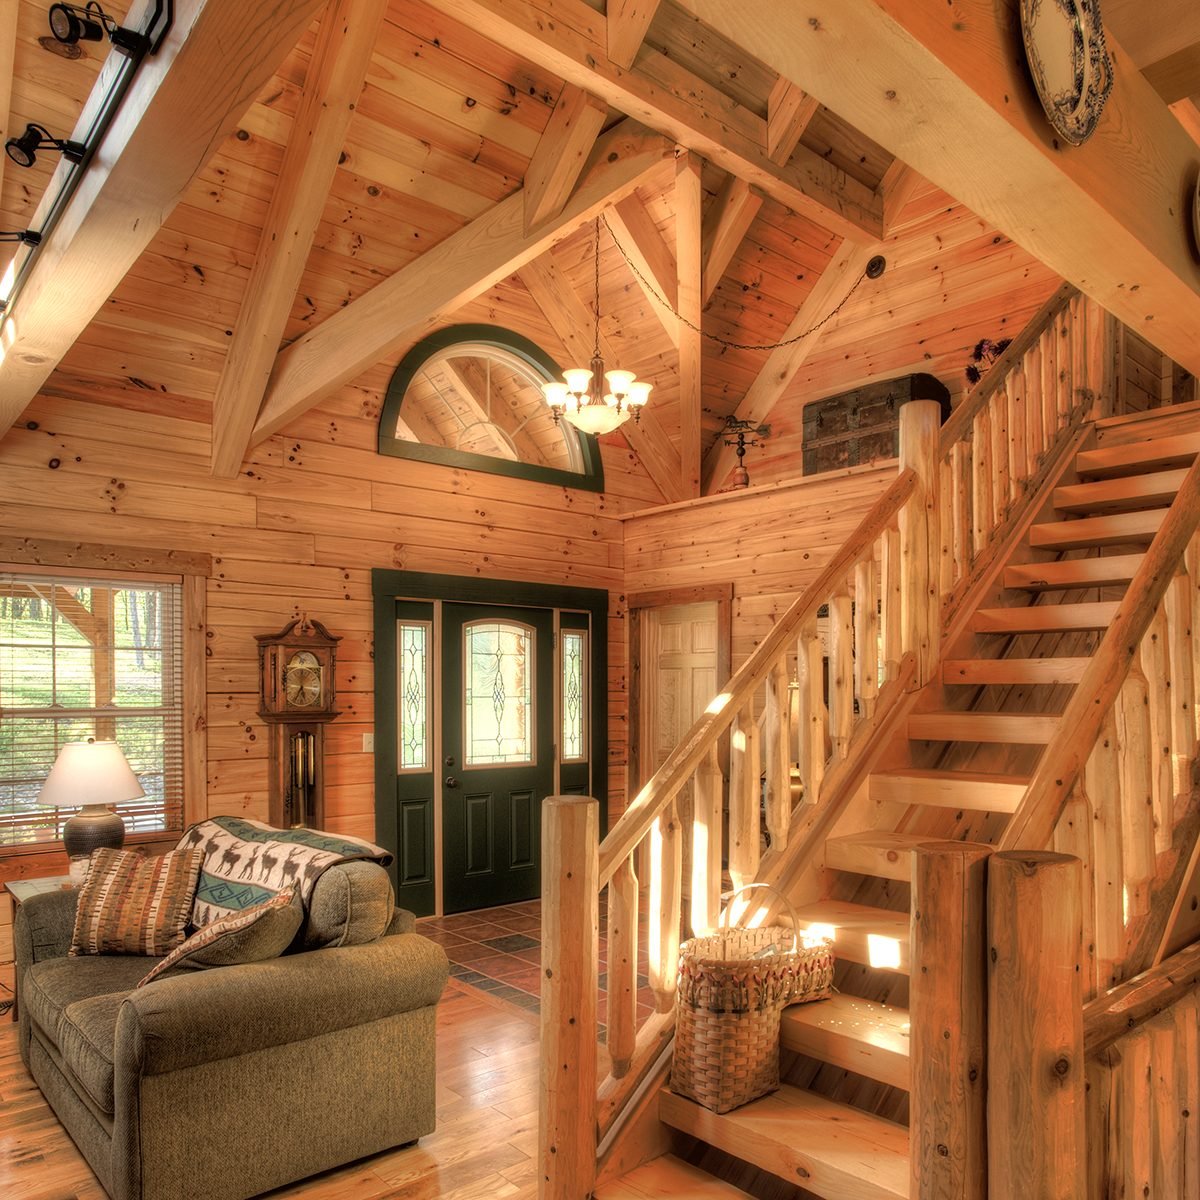
Before we consider the options, let’s dispense with a myth about log-home designs. Many people think of log homes as basic, single-room square boxes, but that couldn’t be further from the truth. Today’s log homes offer a wide variety of aesthetic options, from soaring cathedral ceilings and expansive, unusually shaped living spaces to distinctive interior and exterior touches, such as wraparound porches, gabled dormers, vaunted exposed timber ceilings and more.

1. Log Homes Come in a Variety of Floor Plans
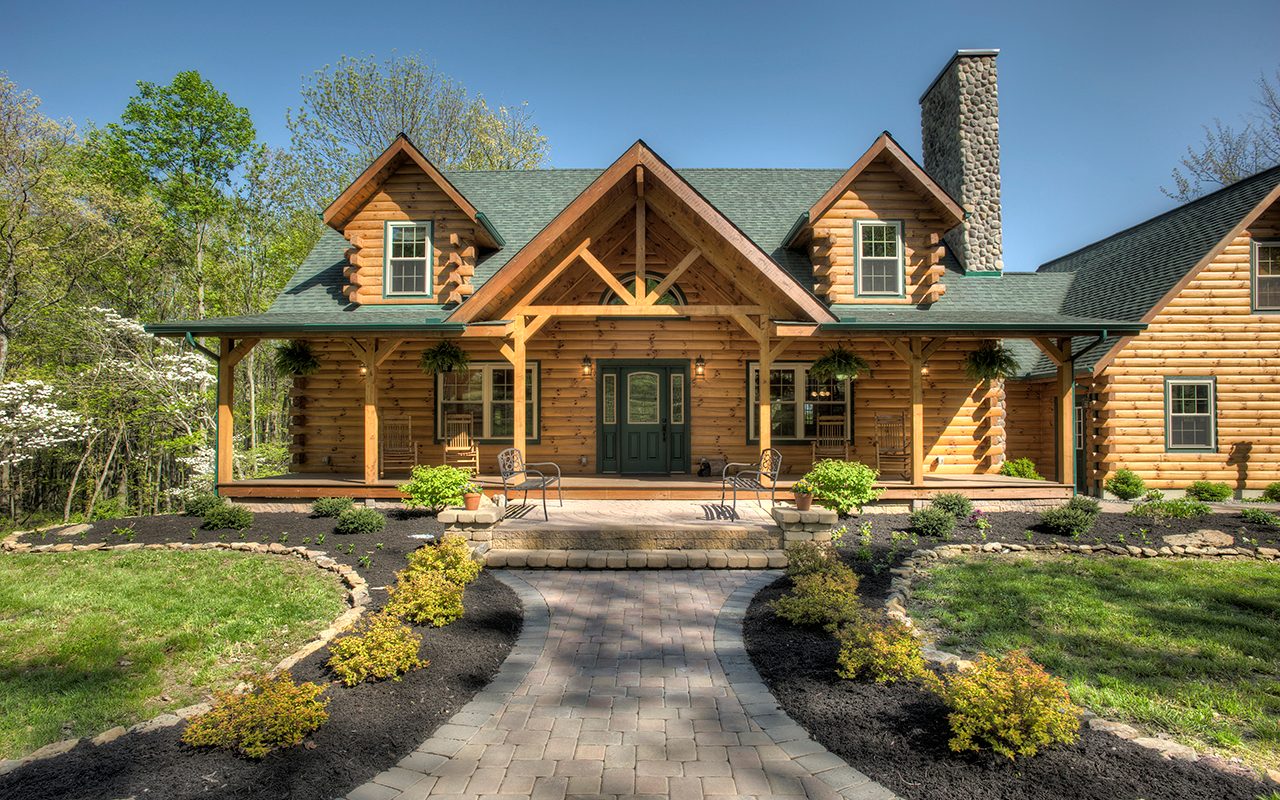
Hochstetler Log Homes, a premier provider of log homes nationwide, features a cornucopia of floor plan and design style options to meet any taste or square footage desire, with a bevy of features and elevations. The home plans range from the traditional log cabin, with its natural stone chimney, to decidedly upscale offerings such as the two-story Sweetwater Log Home, with an open-concept great room and exposed timber ceilings.
And for those in the market for all the comforts of a log home with exceptional amenities, there’s the Heritage Log Home floor plan, with a whopping 3,435 square feet of luxurious accommodations, including a wraparound porch, gigantic A-frame windows and a complete walkout basement. Best yet, the entire line of more than 45 Hochstetler floor plans offers homebuilders the flexibility to adapt and customize features to suit individual needs.
2. Log Homes Are Energy Efficient
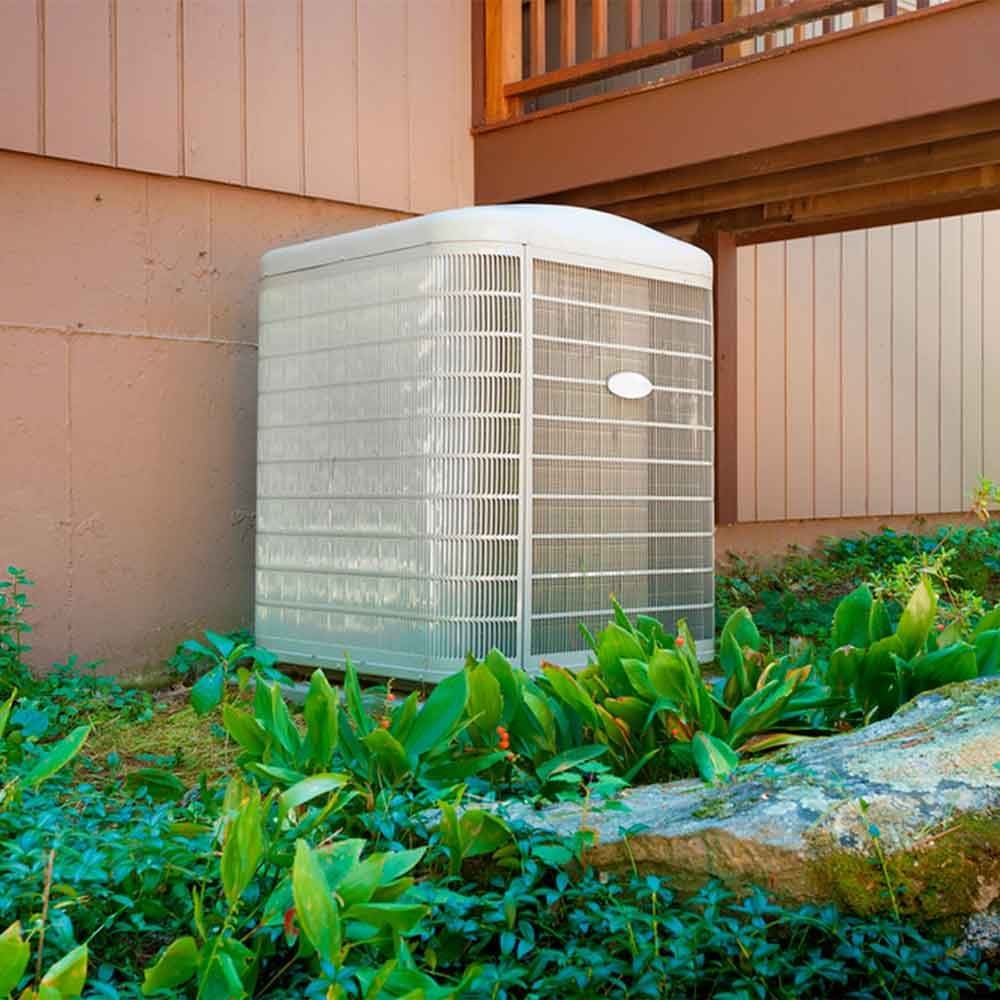
Beyond the warm, homey aesthetic of a log home, timber aficionados also tout the energy-efficiency aspects of log-home construction. That’s because the precision fit of tongue-and-groove timbers doesn’t brook energy leakage in and around the home. What’s more, logs are natural insulators because of a principle called thermal mass.
According to the U.S. Department of Energy, log homes act like “thermal batteries.” Simply put, the massive logs store heat during the day and release it later, making for less strain on HVAC systems overall and at night. In fact, a white paper titled “The Energy Performance of Log Homes: Documented Energy-efficiency and Thermal Benefits,” commissioned by the Log Homes Council Construction, Codes & Standards Committee, concluded that the energy benefits range from 2.5% to 15% in most climates in the U.S.
To maximize efficiency, consider designs that include an overhang to shield the home from the unrelenting heat of the summer sun. This will help lessen energy needs during peak summer months.
While on the subject of boosting efficiency, think thick. There are typically two types of log thickness to consider in log homes: 6-inch and 8-inch lumber. The thicker logs cost more, but also offer more insulating properties, so if you’re considering building in Northern climates, go big. Your energy bill—and wallet—will thank you for years to come.
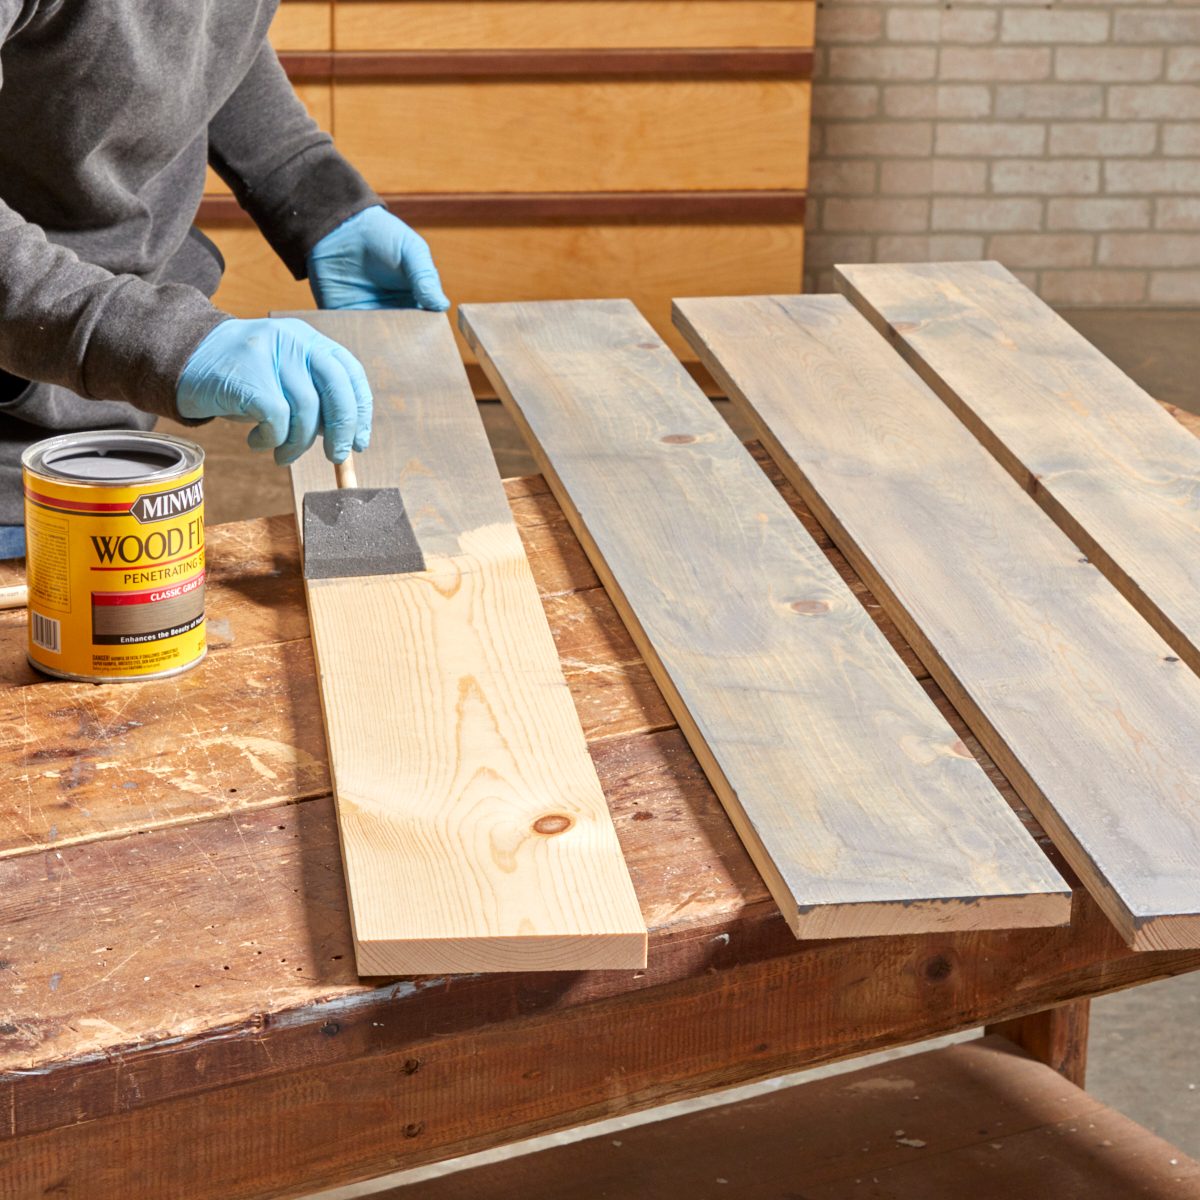
3. Log Homes Stay Golden, but …
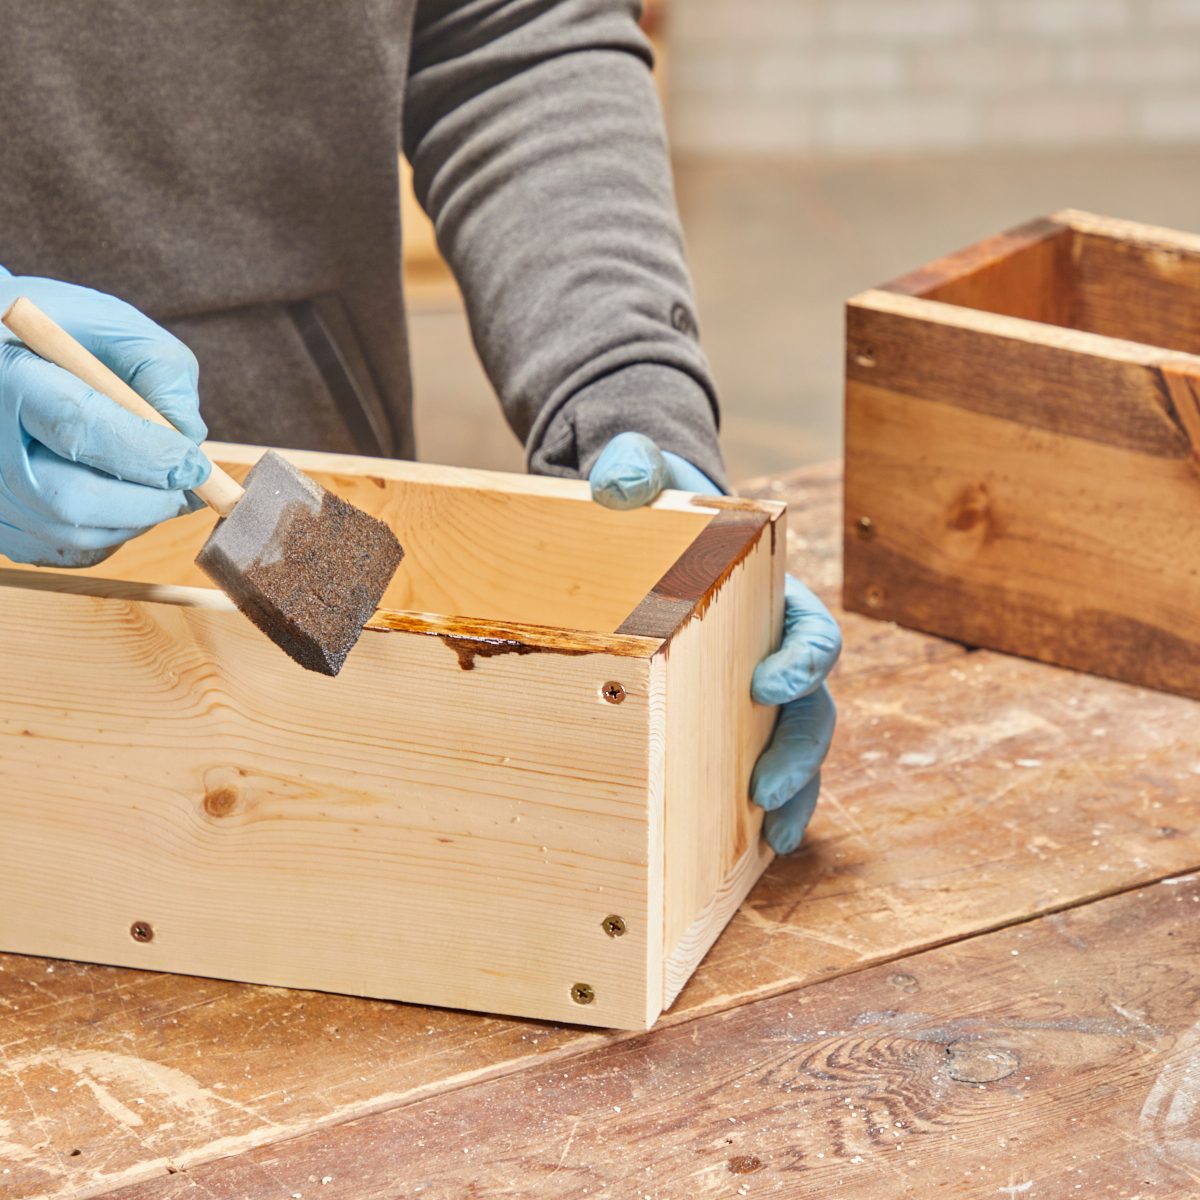
To maintain the lustrous golden hue of freshly cut lumber, you’ll need to apply a sealant or coating finish. Select one with a UV guard in it to protect against sun damage. Also, opt for a high-quality finish, as it allows the logs to let residual moisture escape. You’ll pay a bit more upfront, but the coating will last longer, which means you’ll spend less time reapplying finishes to the wood over the years.
4. There Are Good and Bad Logs
One such imperfection is called “checking”—a visible horizontal crack in the surface exterior of the wood. Consider this checking a feature, a part of the cozy charm of a log home’s rustic exterior. Checking is different from a split, which is a deep crack that impacts the stability—and viability—of the log. A split will continue to grow until the integrity of the log is in question. A builder like Hochstetler Log Homes inspects logs before assembly.
5. Logs Are Preserved Differently
Consider selecting kiln-dried logs over air-dried wood. Kiln-dried timbers have less moisture content, which means less shrinkage over time and a better fit for the log home overall. Kiln-dried wood is heated from 130 to 150 degrees, temperatures that cause sap and resin to evaporate and eliminate nasty burrowing insect larvae. What’s more, kiln drying results in wood that is ready for finishing applications—and in many cases, that finish will absorb more deeply into the log, requiring less maintenance.
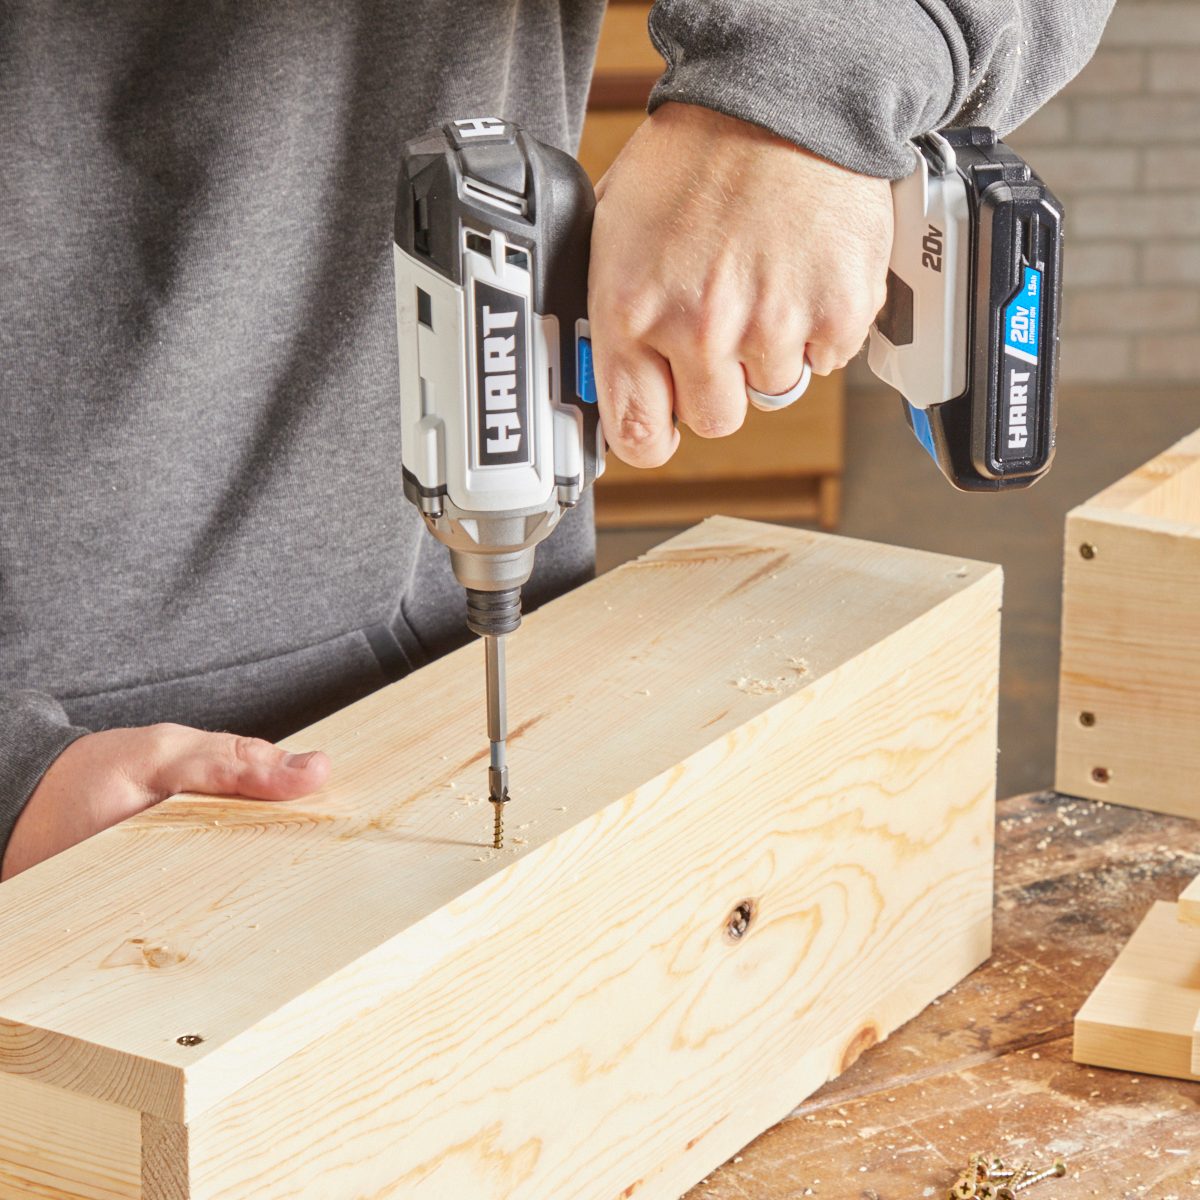
6. You Can Build It, or …
As you contemplate your log-home dream home, keep in mind that building this type of dwelling isn’t as simple as it’s made out to be in reality “building off the grid” TV shows. If you’re confident of your constructions skills, a trusted company like Hochstetler will provide all the materials you need to execute a particular floor plan. But, if you’d prefer to let someone else do the heavy lifting, Hochstetler recommends your contractor be well versed in log-home construction. If you’re not sure which ways you’d like to go, or have more questions, Hochstetler answers the 23 most common questions about building a log home.
Article source here: Home Sweet Log Home