You already know that your lawn requires mowing, watering, feeding and weeding to keep its lush appearance. To up your lawn care game, add aeration to your fall yardwork checklist. You’ll see what a difference it makes.
What is Lawn Aeration?
Merriam-Webster Dictionary defines aeration as a process to supply or impregnate (something, such as the soil or a liquid) with air. Lawn aeration does just that.
When properly done, lawn aeration punches holes in your lawn’s surface. This helps reduce surface compaction and allows air to permeate the ground. These holes also create a path for other life-sustaining growth components like water and fertilizer to easily reach the root zone hidden below your thick lawn.
There are different methods of aerating your lawn. The most effective is to use a machine that has hollow coring tines. This type of aerator will punch holes and remove soil cores from the ground.
A solid tine aerator or one with slicing knife blades, such as the Craftsman Tow Spike Aerator, do not pull soil cores. But many lawn owners like them because they don’t bring soil to the surface, which can cause a mess. These non-coring aerators still help relieve compaction but are not nearly as effective in opening up the soil for nutrients and water to enter.
Why Should You Aerate Your Lawn?
Eventually, the soil under your lawn can become compacted from heavy recreational use, active pets, cars and even lawnmowers. Removing soil cores from the ground when using a core aerator creates little cylinder-shaped holes in the top three to four inches of your lawn, allowing air, water, nutrients and even grass seed to quickly and easily enter the root zone.
Not only can soil compaction keep all these good things from entering the soil, but a heavy thatch layer can develop, too. Thatch consists of slowly decomposing grass stems, roots, clippings and debris that accumulate at the soil surface over time. It can work just like a thatch roof, blocking water from penetrating your lawn.
Aerating regularly will help build healthier soil and limit thatch build-up, keeping your lawn absorbent and receptive to water, fertilizer and air.
How To Aerate Your Lawn
Lawn aerators, power rakes and other power equipment can easily be found at a local tool rental store, many hardware stores and some big box retailers. Renting one will set you back around $60 to $75 for a half-day.
If you have an irrigation system, start by flagging your sprinkler heads. This will prevent unnecessary damage and costly repairs should you hit one as you focus on the task at hand.
Time your aeration when the ground is soft, like after an irrigation cycle or a recent rainfall. This will allow the tines to penetrate the ground easier and deeper. Hollow- and solid-core aerator tines have a difficult time penetrating hard, dry soil, making the process less effective.
Go over your entire lawn at least once. It’s almost impossible to over-aerate. Go over heavily compacted areas multiple times. The more holes the better. Lawn surfaces adjacent to driveways, sidewalks and other heavily trafficked spots should get special treatment by making several passes.
Allow the soil cores lying on the surface to dry. Then break them up with a bow rake, like the Bully Tools 12-Gauge, 16-Inch Bow Rake, a drag mat like the Yard Turf 5×3 Drag Mat or a power rake. Even a quick pass with your lawnmower will do it. This may dull your mower blade, however, requiring it to be resharpened.
The shattered soil from the cores will find its way back into the grass, thatch layer and holes. This is a good thing because soil from the cores acts as a light soil topdressing that helps smooth your lawn’s surface and slow the further development of thatch.
When Should You Aerate Your Lawn?
You can aerate your lawn just about any time, as long as the ground isn’t frozen. The best time to aerate is late summer or early fall when weather conditions are optimum.
Try not to aerate immediately after applying a crabgrass preventer in the spring. Punching holes in your lawn after treating with a pre-emergent herbicide can compromise the chemical barrier it creates that prevents crabgrass and other weeds from emerging.
Aerating during hot, dry weather is also never a good idea. This could quickly dry out the grass, causing undue stress to your lawn.
What Should You Do After You Aerate Your Lawn?
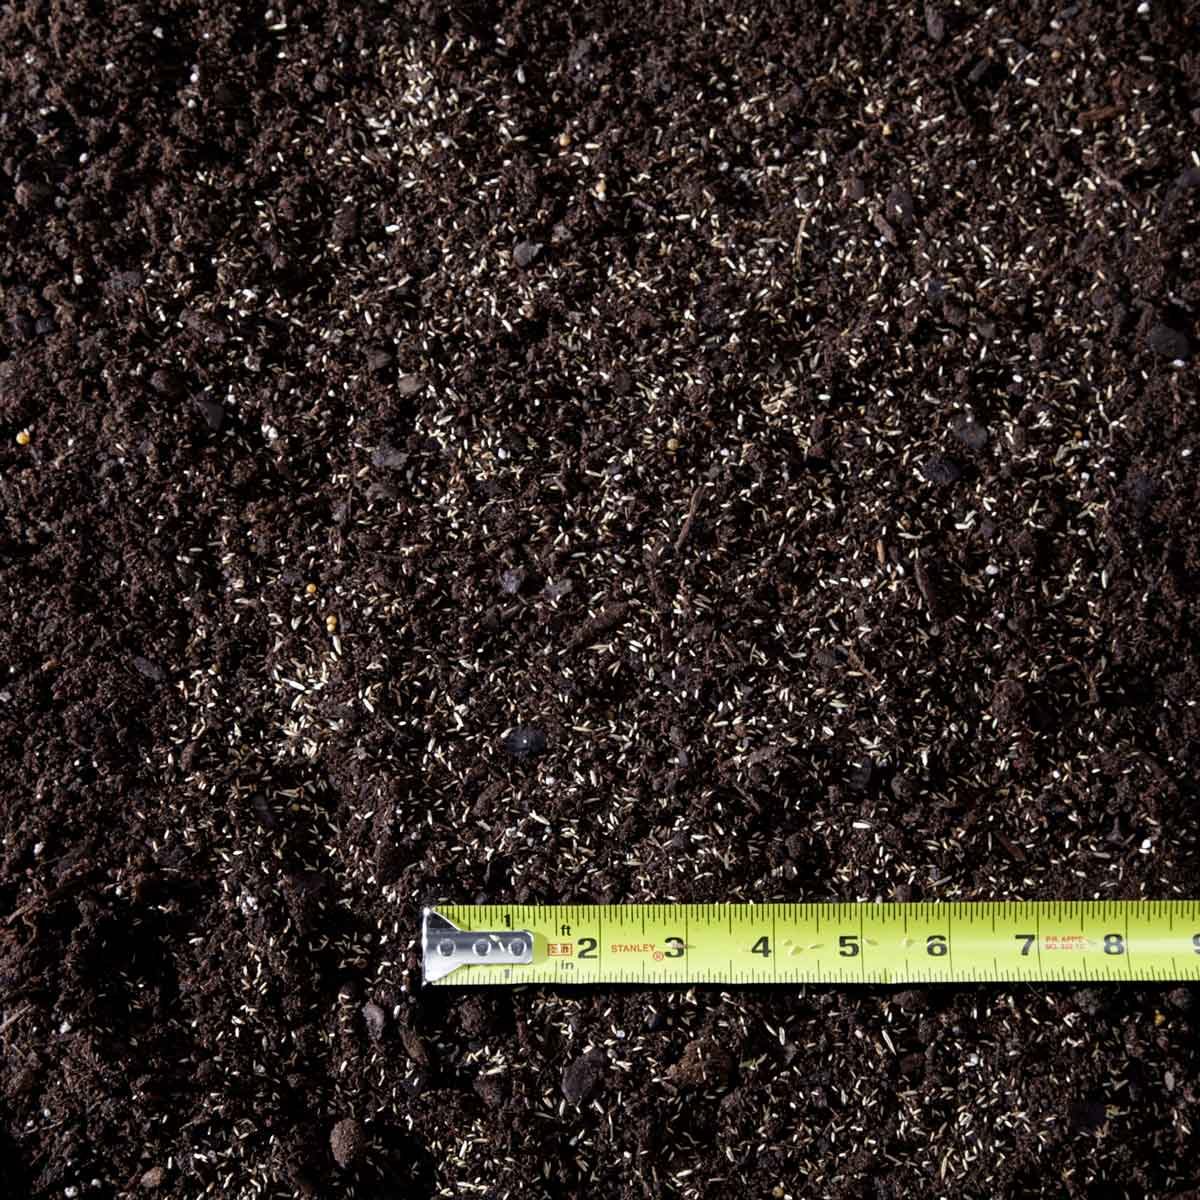
Whenever possible, combine lawn aeration with other lawn care maintenance such as fertilizing, adding soil amendments or overseeding. Water, fertilizer and grass seed all need to get through the lawn surface and into the soil to do their job. Creating a path for them to get there can be accomplished by core aerating. An application of fertilizer immediately after core aeration will also help restore your lawn.
Article source here: What Is Lawn Aeration and When Do I Do It?