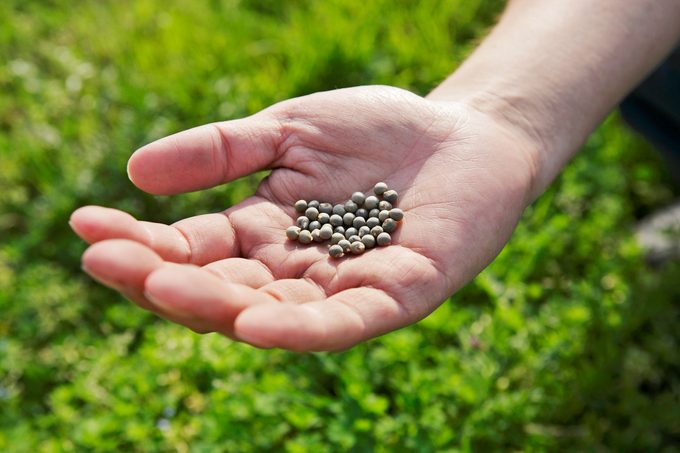
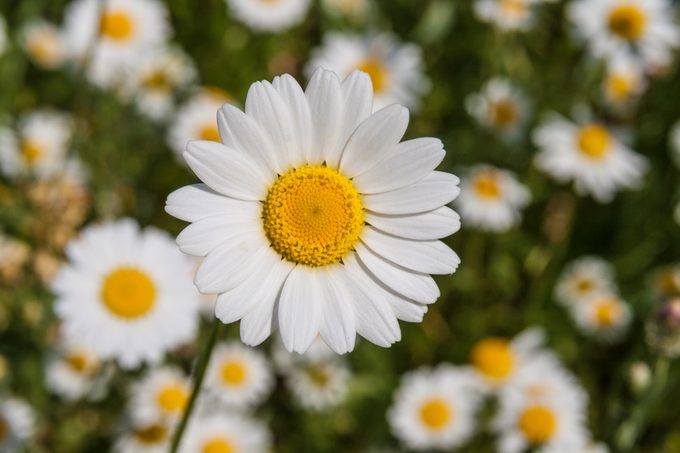
When cleaning up a garden in the fall, many people overlook saving seeds for the next season. While purchasing fresh packets of seeds is generally easy on the budget, it can be satisfying and simple to learn how to save seeds from the garden.
“A lot of people get intimidated by seed saving, but it’s really not that difficult,” said Phil Kauth, director of preservation at The Seed Savers Exchange in Iowa.
Many plants also produce enough seeds to share with friends, family, and neighbors. This is especially true for annual flowers, such as zinnias and cosmos. Most seeds, with proper storage, can last for several years.
Seed Saving Basics
Here are some basic tips for how to save your garden seeds. It can help to have scissors or a clipper to snip off flower seed heads and pods, along with a screen, coffee filters or some other absorbent but breathable material for drying seeds. Hang on to your original seed packets in case you need to refer to them for planting depths, spacing or estimated harvest times.
Make Sure Seeds Are Ready
Collect seeds from your healthiest plants and don’t harvest them too early. Let them turn from green to brown and dry on the plant or vine. You shouldn’t be able to dent seeds with a fingernail.
“The seeds must be fully mature and dried completely when you store them,” said Randel Agrella, senior horticulturalist at Baker Seeds, an heirloom seed company in Missouri.
If seeds are mature but damp from drizzly or rainy fall weather, let them dry indoors. Spread them across paper towels or coffee filters on a cooling rack until they are ready to be stored for the winter. Any moisture can lead to mold and ruin your seeds.
Each Seed Looks Different

Every plant has different structures and seeds. Poppy seeds will be specks in your palm. Lupine will look like tiny pebbles. Calendula seeds curl into Cs. And liatris seeds have fuzzy tops, reminiscent of dandelion seeds that drift in the wind.
Garden produce has the more familiar seeds: dried peas and beans, watermelon seeds and pepper seeds. Seeds that form inside fruits or vegetables need extra time to dry before preserving.
Collecting Flower Seeds
Flowers are some of the easiest plants to collect seeds from. Any flowers that haven’t been picked or deadheaded will usually go to seed. You’ll see the petals close after being pollinated. Then petals drop off and the seeds gradually ripen until the former flower becomes a dry seed pod.
Color Targeting
If you collect seeds from a single plant, you’ll get flowers that are only that color. You can mark plants with a string or twist tie to single a specific color for seeds, such as a purple hollyhock. If you want to replant a mix of colors, like you’ll find in a packet of zinnia seeds, you’ll have to collect and blend seeds from different colored flowers.
How to Save Zinnia Seeds
Zinnias create flat, spade-like seeds attached to remnants of dried petals. Rub your thumb and forefinger across the seed head to separate the seeds. You can also clip the seed heads whole and save the heads in a dry place until spring. Separate the seeds when you’re ready to plant.
How to Save Cosmos Seeds
Cosmos develop thin, elongated seeds that are easy shake into a dry paper lunch bag, especially the shorter varieties, such as “Bright Lights.” With cosmos and other seed heads, you can put them in a paper bag, roll the top closed and shake it to loosen seeds. This can be especially helpful for seed pods such as enchinacea, which can be prickly.
How to Save Rudbeckia and Daisy Seeds

Rudbeckia, as well as daisies, have dozens of seeds packed into one pod. If they don’t shake loose on their own, put on a garden glove and brush a thumb across the seed head while shaking the pod into a bag or onto paper towels for a final drying.
Harvesting Vegetable Seeds
The easiest vegetable seeds to save are peas and beans. If you’ve ever missed a few ripe ones when harvesting, you’ll see that they’ve over-ripened and then dried out. And just like that, you have seeds ready for the next season!
Be sure to let them mature and dry out on the vine or bush. Then pull off the outer shell and save the peas or beans for next year’s planting. Be sure to note whether a seed is a bush or vine variety so you plant in the right location next year.
Carefully label seeds such as peppers and tomatoes so you know which color, shape and variety they are.
How to Save Cucumber, Squash and Pepper Seeds
For seeds within fruits and vegetables, scoop them out (think of pumpkins or peppers). Slice vegetables, such as cucumbers, in half and run a fingernail through the flesh to loosen the seeds.
Seeds from wet flesh need extra time to dry out on a screen or coffee filter. Flip and shake them once or twice a day to make sure air circulates on all sides for even drying. A small fan can help, too.
How to Save Tomato Seeds
Saving tomato seeds from favorite heirloom varieties requires the extra step of fermenting. Squeeze tomato seeds into a jar or glass and let them sit for a day or two. They’ll get moldy, but that helps break down the gel around the seeds. Fill the glass or jar with water and swish the seeds to loosen pulp and gel.
Pour the water and seeds back and forth between glasses or jars of water until the seeds look clean and are settling on the bottom. Floating seeds are not viable and can be removed and discarded. Use a spoon or sieve to remove seeds and spread into a single layer on coffee filters or paper towels to dry for at least several days.
Storing Seeds
Well-sealed glass jars work for storing well-dried seeds in dark, cool places, such as a basement or refrigerator. If you have a dry storage place such as a heated garage or utility area, organize seed heads in labeled paper lunch bags or paper envelopes.
Article source here: How To Save Seeds from the Garden


No comments:
Post a Comment