
Ever wonder how pros sew buttons onto pillows, or how they get their cushions so perfectly straight and smooth? Unwrap the mystery of upholstery, and stitch together some skills to sew small projects and make repairs. I spent a day with Nate Van Hofwegen at his shop talking about his upholstery magic and what tricks he could teach us.
Meet The Expert
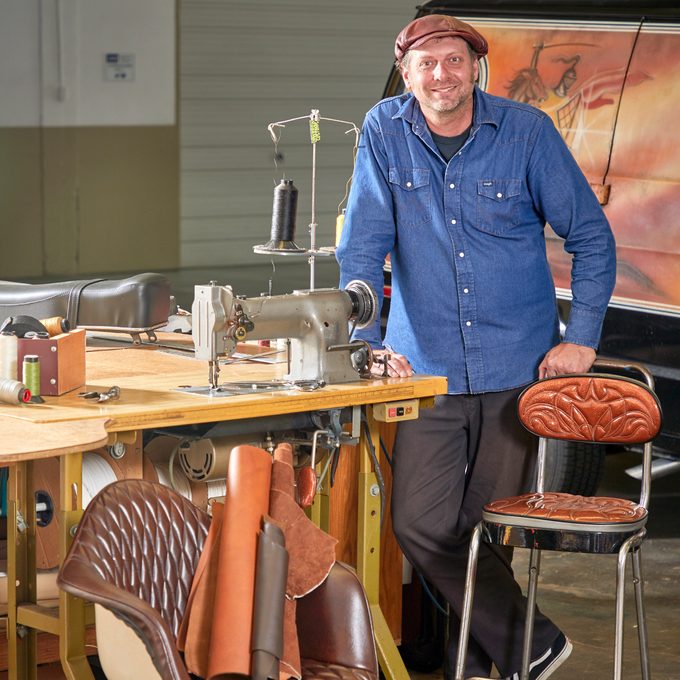
- Nate Van Hofwegen has been an upholsterer for 20 years. His favorite projects are vintage van and motorcycle seats.
Use The Right Needles For The Material
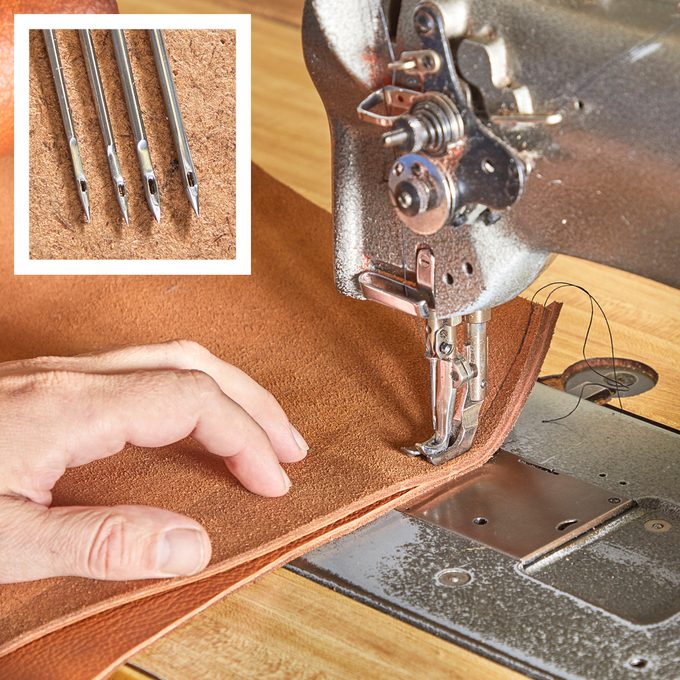
- Choosing the correct sewing needle for your material eliminates frustration and breakage.
- Van Hofwegen uses 140/22 needles for most of his vinyl projects. Leather and denim require thicker, stronger needles.
Make Your Pleats Neat
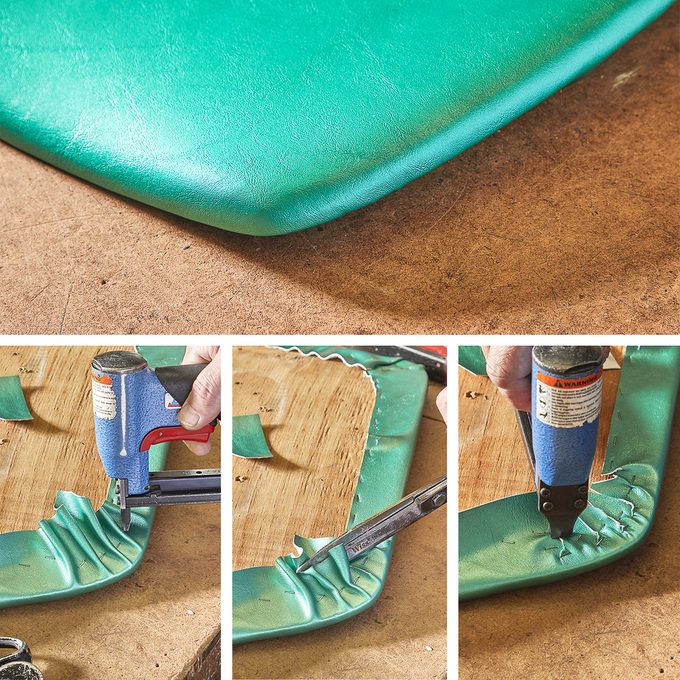
- Making rounded corners and edges look consistent is not easy. Here are the steps Van Hofwegen takes to achieve the same look around the entire seat cushion.
- First, he gathers the material tightly around the corner and spaces the staples evenly.
- He then trims the excess material, snipping the crowns off the pleats.
- Finally, stapling about 1/2-in. from the edge, he fastens the loose tails so they lie flat.
Replace, Don’t Repair
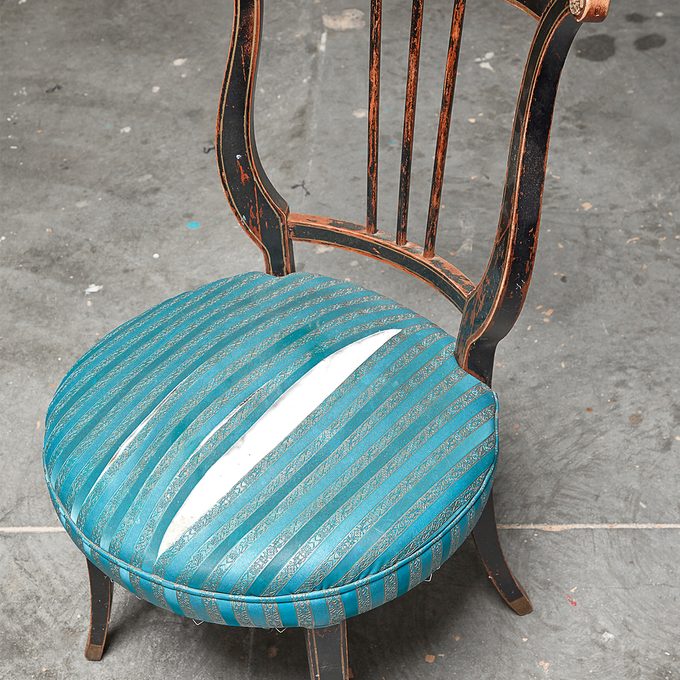
- We’ve all seen the upholstery repair kits that claim to “work like magic.” The problem is, they don’t.
- Often it’s easier to just replace your item. Sometimes you can’t beat new.
Choose the Right Fabric
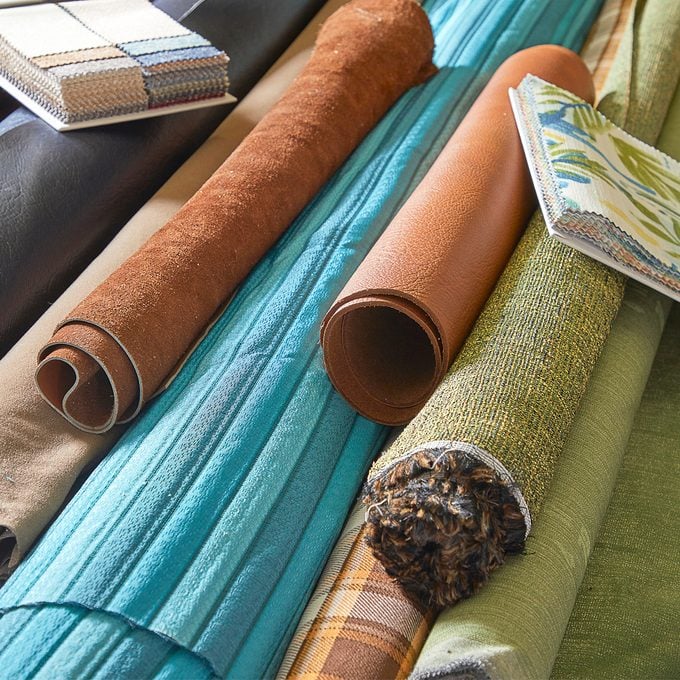
- Use the right material for your project — outdoor cushions need fabric designed to withstand the elements.
- There are even special types of vinyl that make upholstery easier.
Cutting Foam
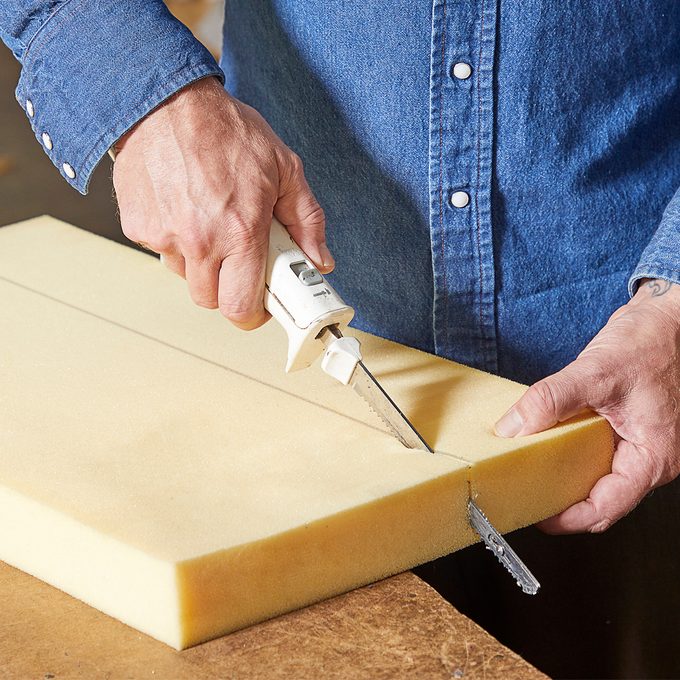
- Van Hofwegen has a saw designed to cut foam. An everyday alternative to this pro tool is an electric bread knife.
- A bread knife’s serrated edges easily cut through thick foam. The knife is also lightweight and easy to control.
Stiffen Edges With Batting

- Polyester batting stiffens a cushion and eliminates wrinkles, making a cushion cover taut and smooth.
- Glue the batting to foam with a spray such as 3M Headliner & Fabric Adhesive ($19).
Make A Pattern

- When you’re making more than one of anything, a pattern is essential.
- Van Hofwegen suggests making patterns that account for the seam allowance, so you don’t have to remember to offset the line every time you trace the pattern.
- Van Hofwegen uses chalk, not markers, for marking his lines. Chalk isn’t permanent, and markers tend to bleed.
Lock Your Stitch
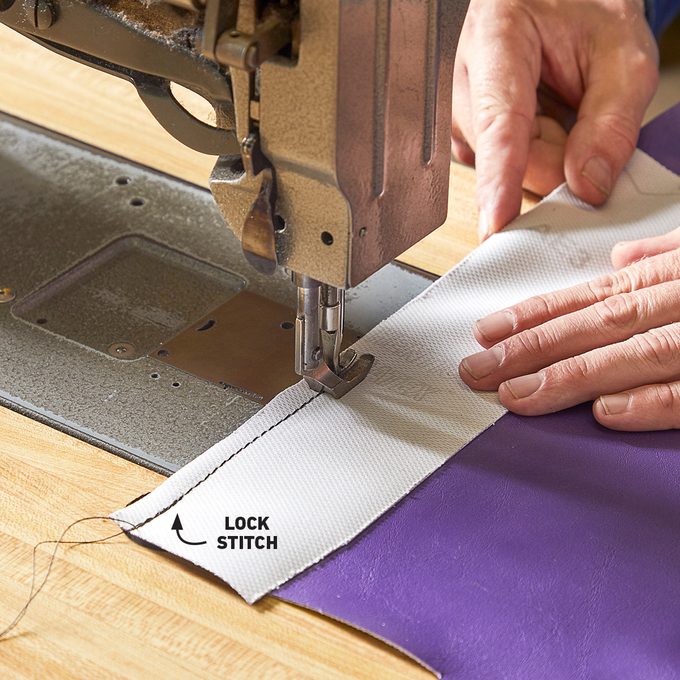
- Backstitching locks a stitch in place, ensuring it won’t unravel.
- Start by going in reverse about an inch, and then go forward over that bit of stitching. This locks in the thread at the beginning of the seam.
- Do the same at the end of the seam.
Use A Special Foot For Zippers
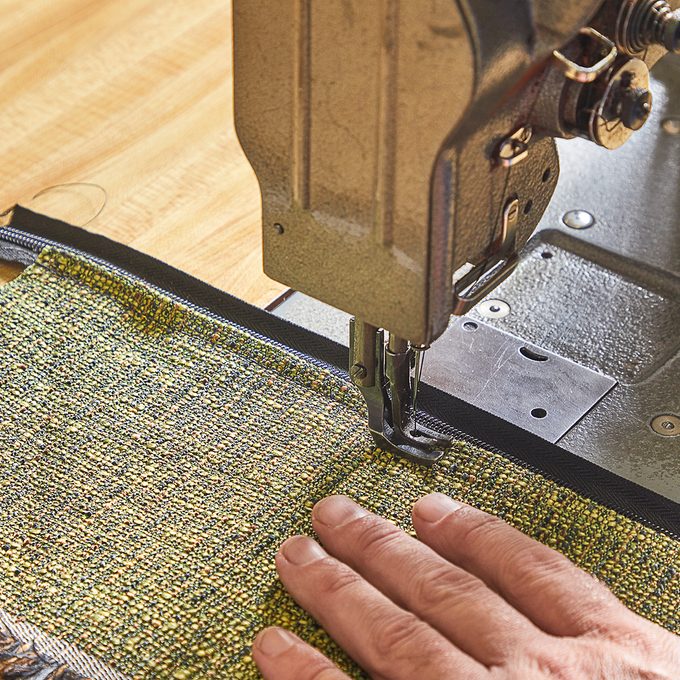
- Zippers and piping often require stitching closer to the edge than a regular foot will allow.
- For these operations, Van Hofwegen uses a special foot on his sewing machine.
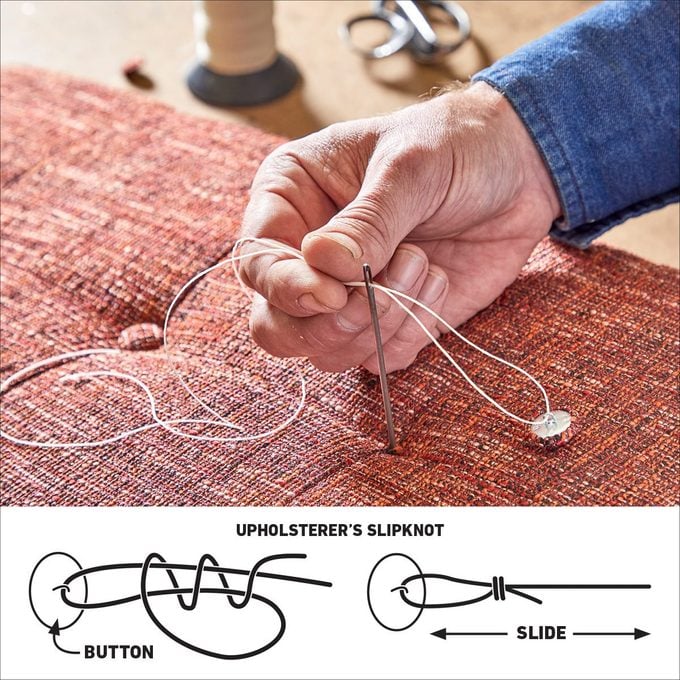
Replace A Missing Button
- The buttons on a tufted cushion often come loose, get damaged or disappear. Van Hofwegen showed me how easy it is to replace them.
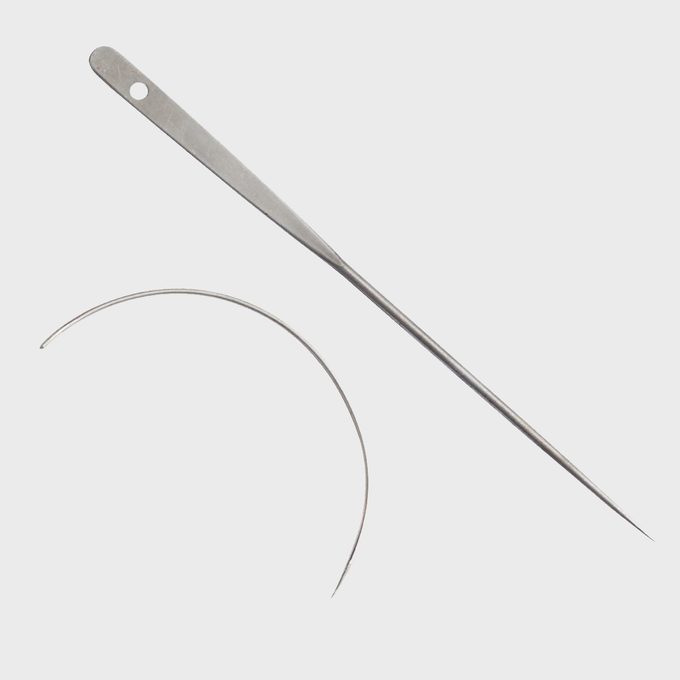
- With a long needle called a regulator and a simple knot, you can replace a button on any cushion.
Upholsterer’s Slipknot
Nate’s Tools of the Trade
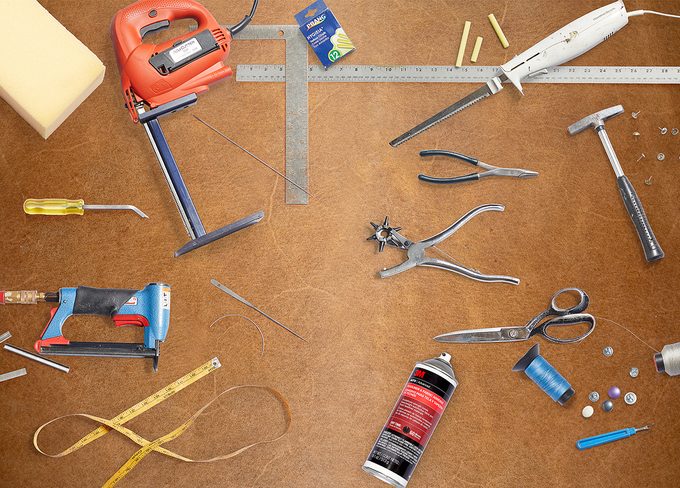
Here are the essential tools Van Hofwegen uses every day in his upholstery shop.
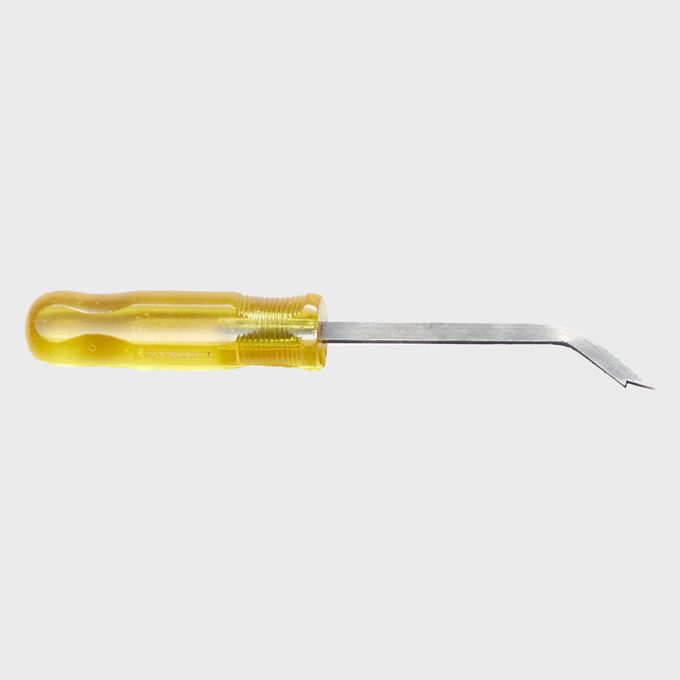
Regulator

- A regulator is the needle used to replace tufting buttons. Expect to pay about $10 for one.
Staple Remover
- This essential tool for removing staples costs about $30 online.
Foam-Cutting Saw
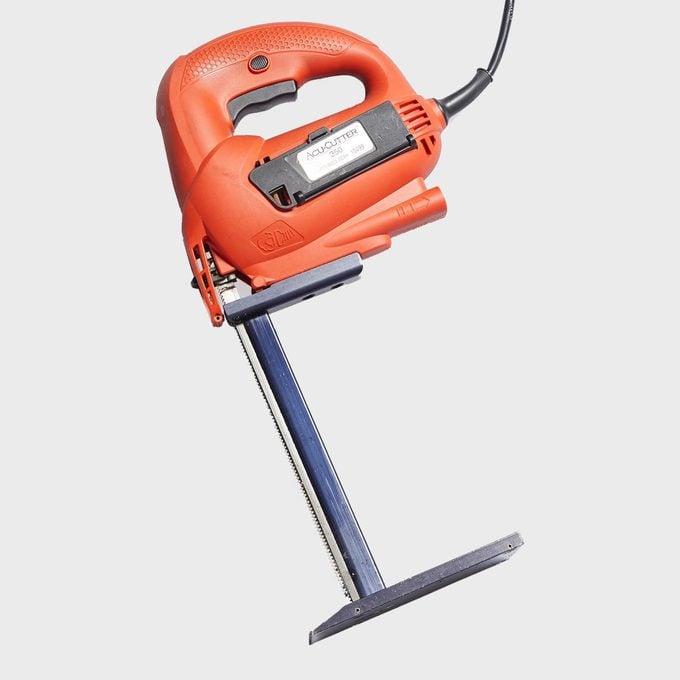
- For large pieces of foam, this purpose-built saw is indispensable.
Needles
- A great assortment of needles will serve you well. Find them at your local fabric, hobby or leather working stores.
Pneumatic Stapler
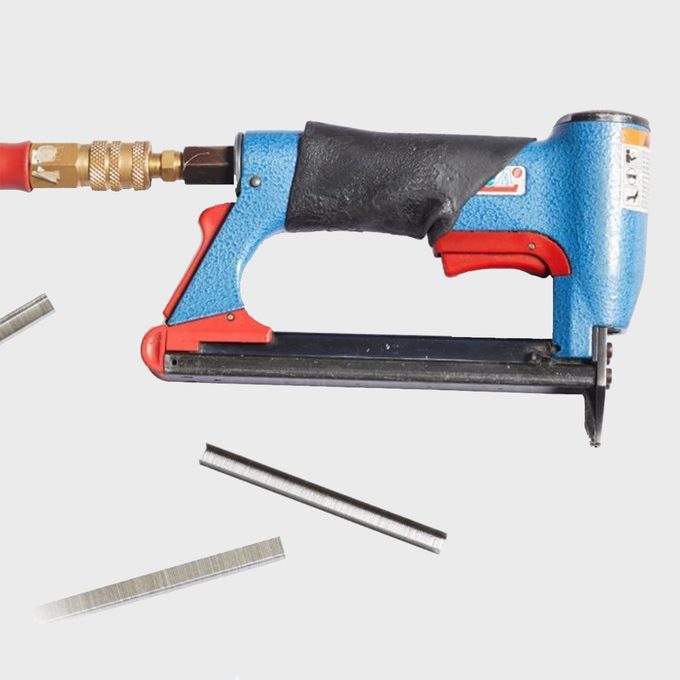
- A pneumatic stapler is probably the most-used tool in Van Hofwegen’s shop. He uses 1/2-in. staples. Expect to pay at least $80 for a good one.
Soft Tailor’s Tape
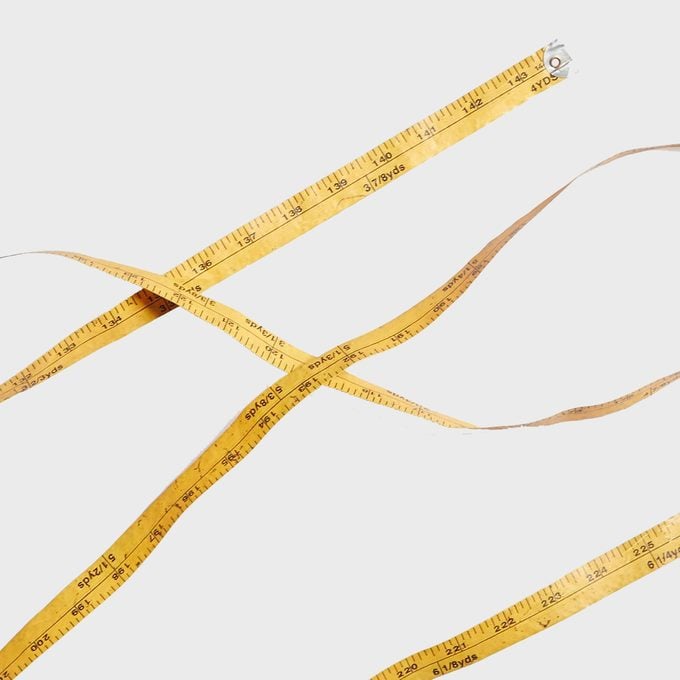
- Essential for measuring curved surfaces, these flexible tapes are available at fabric stores for about $5.
Chalk
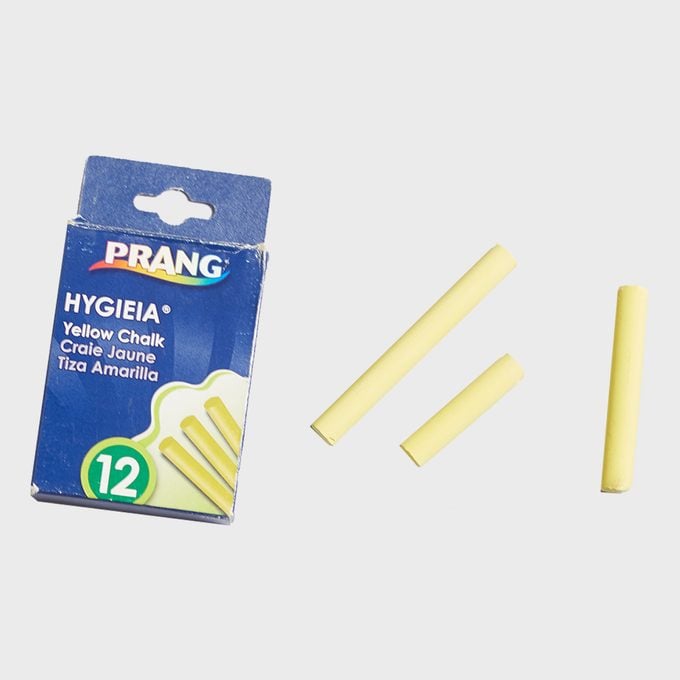
- Instead of markers, Van Hofwegen uses chalk to mark his fabric.
Straightedge
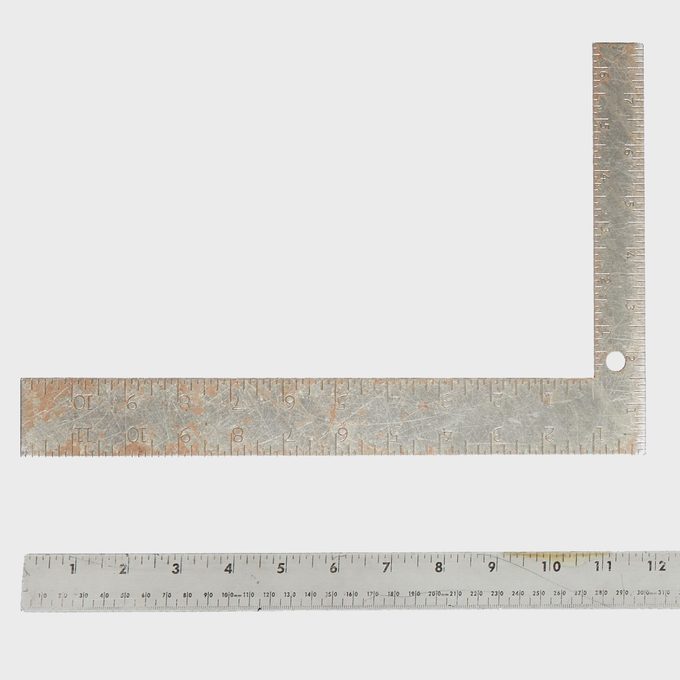
- Just like a craftsperson in a wood shop, an upholsterer also uses a straightedge.
Electric Bread Knife
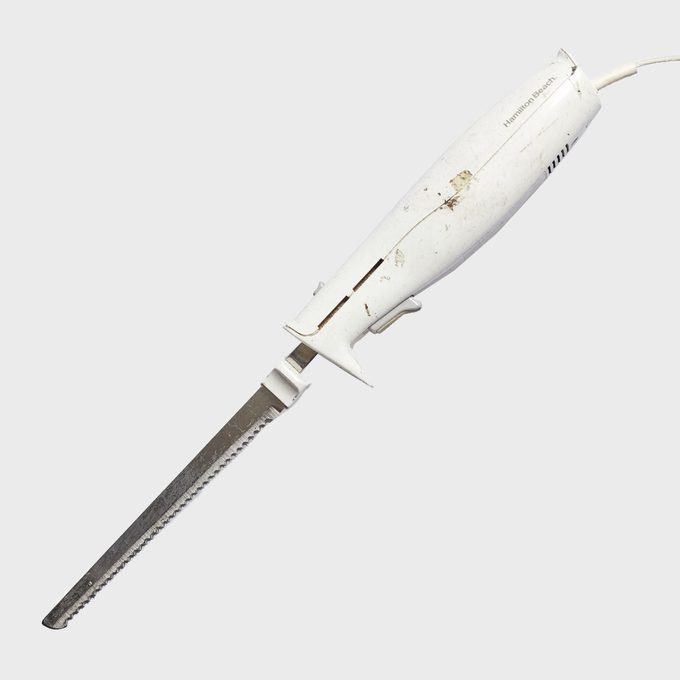
- For the rest of us, an electric bread knife does a great job of cutting foam.
Pliers
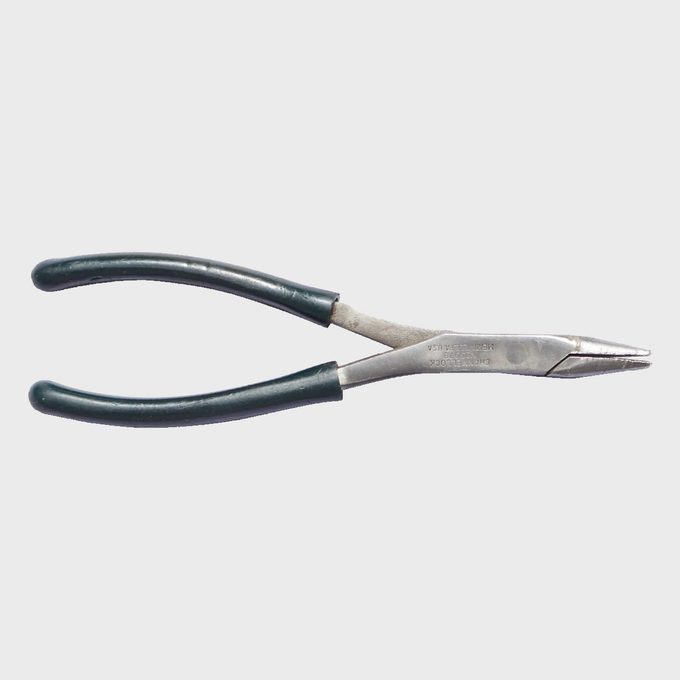
- A good pair of pliers costs less than $10.
Tack Hammer

- When you’re working with studs, a tack hammer makes life so much easier. Find one for about $30 online.
Hole Punch

- Van Hofwegen’s professional leather punch from Craftool costs about $50.
Scissors
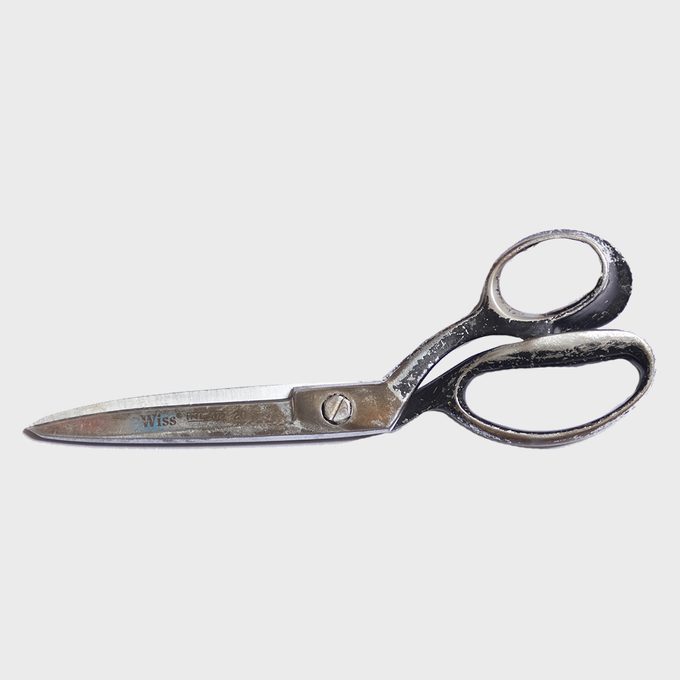
- Van Hofwegen has many pairs of scissors. Like most upholsterers, he’s unwilling to share. Buy your own for about $30.
Adhesive
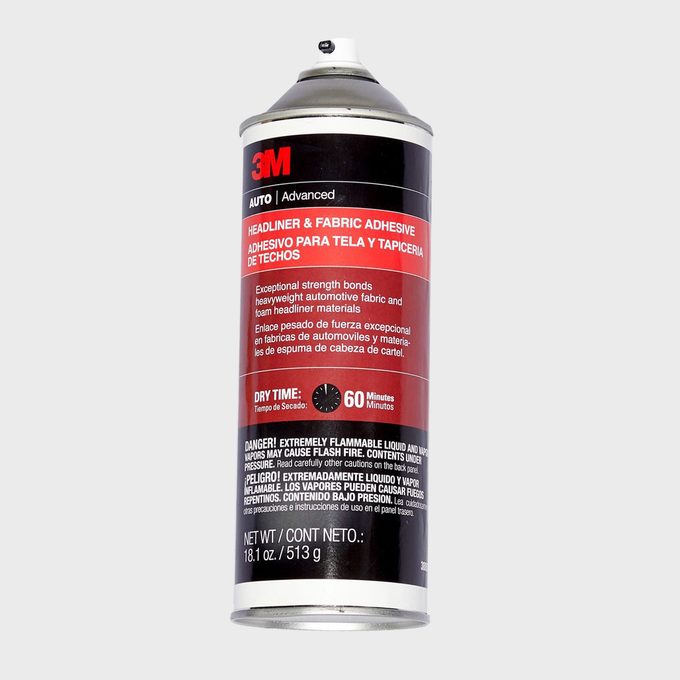
- Van Hofwegen relies on 3M Headliner & Fabric Adhesive. Find it at your local automotive store.
Seam Ripper
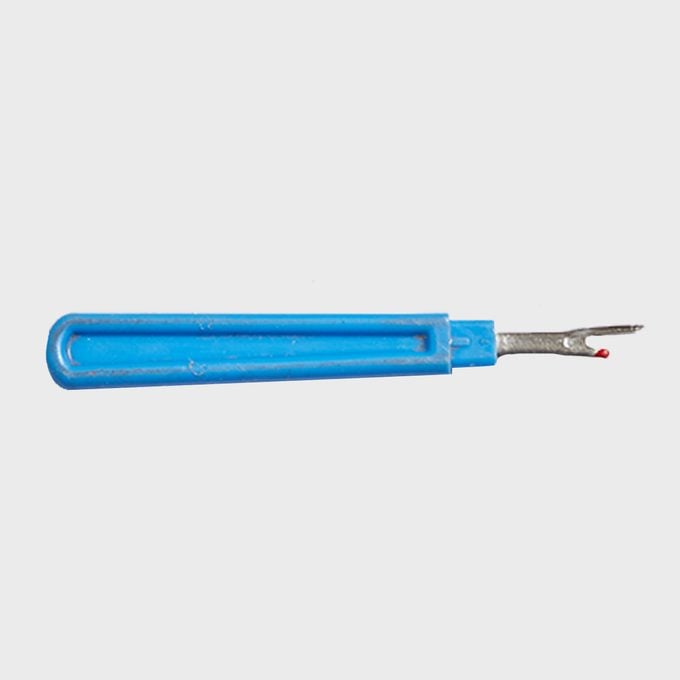
- A seam ripper is perfect for ripping long seams and getting where scissors just can’t reach. Find one at the fabric store for about $7.
Shopping for Materials
- Most materials needed for an upholstery project — even foam — are available at local fabric and hobby stores.
What Is a Yard?
- Commercially available upholstery material is typically 54 inches wide. At a fabric store, you may find some material that’s not this wide. But no matter how wide the material is, a yard of fabric is always three feet long.
Article source here: How to Repair Upholstery Cushions and Covers
No comments:
Post a Comment