Admittedly, I’m a tech nerd. I love tweaking settings on my router, adding new functionality to old gaming systems, and of course embracing all things smart home. When controlling your lights with your voice — or phone — came into vogue, I jumped on the bandwagon.
I started out with smart plugs, trying different brands until I landed on the Kasa line by hardware manufacturer TP-Link. Other brands had wonky integration with Google Assistant (sorry, Alexa lovers) and didn’t work as well as I had hoped. When I landed on the Kasa line, everything worked as it should. After graduating from the smart plug world, I upped my game by delving into smart switches.
What Are Kasa Smart Switches?
Smart switches are essentially light switches that connect to your home WiFi network, allowing you to operate them from anywhere via voice commands or an app on your phone. Kasa smart switches are made by TP-Link, a dependable company known more for its routers, modems and other home networking devices. The Kasa line also has smart light bulbs, security cameras and smart plugs.
Their smart switch lineup consists of three models. The HS200 is your basic, regular light switch. The HS210 is made to replace a three-way switch, and the HS220 is a regular switch that offers dimmer controls. I tested the HS210 and the HS220.

Control of Kasa devices is done through the Kasa app, available for download in the Google Play Store (I’m an Android user) and the Apple App Store. They can also be voice controlled with Google Home, Amazon Alexa and Microsoft Cortana, as well as IFTT, Nest and more.
The app is streamlined and offers a really nice user experience. All of your devices show up on the main page and are grouped together with other Kasa products (smart plugs, smart switches, bulbs, etc.). If you have TP-Link cameras, you can control them here also.
Once connected, use the app to set up routines — having certain products come on in the morning and go off at night, for instance. For further functionality you can set up integrations with other smart products.
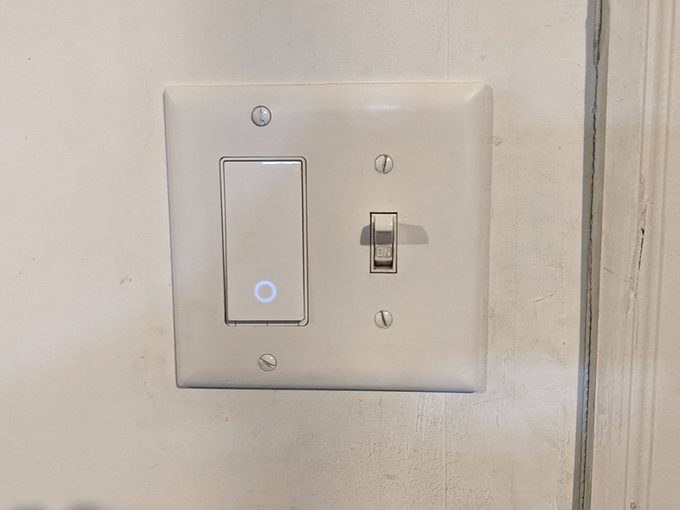
I was slightly disappointed that the switches only come in the decora (rocker) style, not the traditional toggle style. It’s not a big deal, but in my house all the switches are toggle style. It only matters when you have a gang of switches together. One or more will be different, like the one in my garage, pictured below.

How We Tested
Installation
Installing the smart switches is just like installing any regular light switch. But I’m no electrician, so it took some fiddling to get them to work properly.
If your switch gang only has a single switch, it’s much easier than ones with multiple switches. Like most tech products these days, detailed instructions aren’t included in the packaging. A card refers you to the app for complete instructions.
Since I already had the Kasa app on my phone, I launched it to learn the installation steps. From the main screen, tap the + sign in the upper right corner. Kasa asks if you are adding a new device or setting up a group to control multiple devices simultaneously. I chose device. Next, pick the type of device. In this case “Smart Switches.” Then, the type of switch — I chose “Smart Three-Way Switch” and “Smart Dimmer” for the other install.
Here’s where the install instructions really begin. The app asks if you already installed the device. If you click “Not Yet,” it walks you through the basic wiring process, with this warning: “If you are unfamiliar with basic electrical wiring, please consult an electrician.”
The app has you test your WiFi strength (it’s needed to connect the device to your network) and tells you what tools you’ll need for the project. In this case, a couple of screwdrivers, a pliers and a continuity tester, which I don’t think I used.
Next, the app gives a basic rundown of three-way switches and asks you to enter how many and what color wires you are working with. After entering the information, the app, with really nice renderings, guides you through how to remove the old switch and replace with the new one. It prompts you to take pictures and label wires along the way.

For the most part, this is all straightforward. As any home project goes, I had some blunders along the way.
I had trouble installing the dimmer switch, not because of the product itself, but because of the wires I had in my box. My particular gang has a single dimmer along with a three-way switch. There was an extra wire in my configuration that couldn’t be accounted for in the Kasa app. In the end, I grouped it with a bundle of same color wires and everything worked.
WiFi Setup
Next, I had to connect to the switches to my WiFi network. Again, the app walked me through the process. These switches operate on the 2.4 GHz band on your router, like most smart home devices. Following the app’s instructions, setting up the connection was simple. The switch uses your phone to piggyback onto your home’s WiFi network during setup before communicating directly with your router.
After the switch is configured, you can turn it on and off with the app. When you push the app button to the corresponding switch (or smart plug), the device turns on instantly. There’s no lag time between touching the phone screen and the device activating, which I thought was pretty cool.
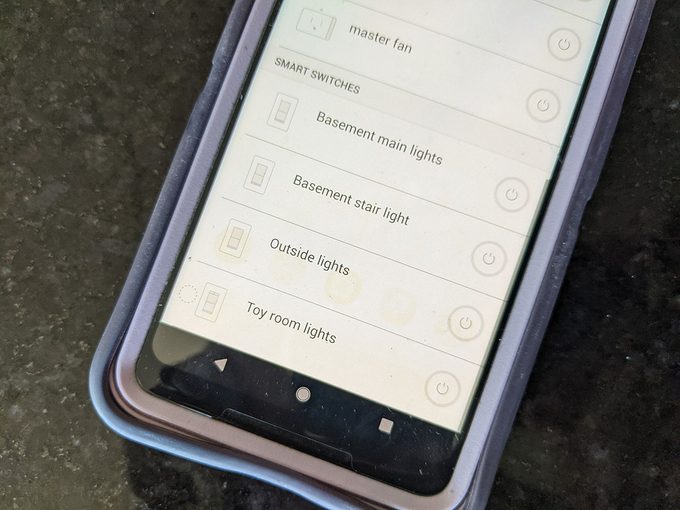
During setup, you can name your app appropriately — “outside lights,” “hallway lights,” “toy room,” etc. You can also change it later within the app. There are little icons you can assign to each device, representing what it controls.
Smart Home Integration
Depending which smart home ecosystem you have, connecting the Kasa hardware is really a snap. As a Google Home/Google Assistant user, the Google Home app automatically found the connected switches and placed them on the main screen. From there I just had to move them to the correct room and set up any groups I wanted. Amazon’s Alexa is similar.
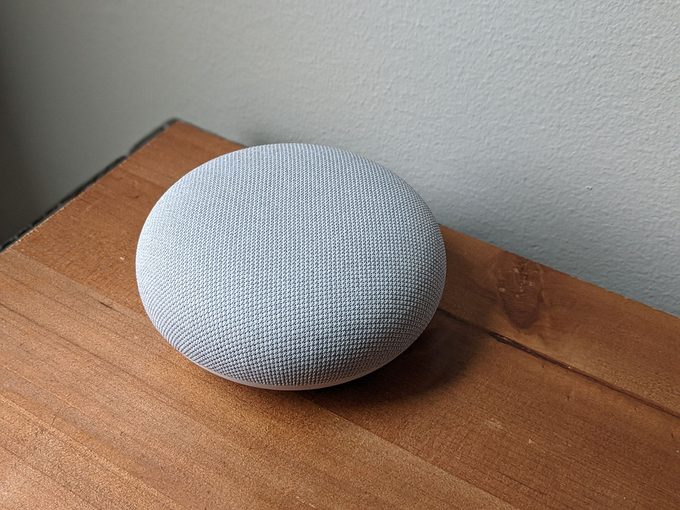
To access the voice control features, you need Google Home, Amazon Alexa or Microsoft Cortana-equipped speakers or other devices. My home already had several Google Home speakers to test out. Once connected it allows you do use voice commands like, “OK Google, turn on the outside lights,” or “OK Google, dim the basement lights.”

Update: Two Years Later
Eventually the switch in my garage that controls our outside lights stopped connecting to our WiFi network. It isn’t far from the router, so I didn’t believe that was the issue.
Then I thought it might be this: Our dual-band WiFi mesh router broadcasts the 2.4 GHz and 5 GHz bands simultaneously under a single SSID (the name you see when connected to your network). Kasa switches use the 2.4 GHz band. To connect to the network, the switch piggybacks onto my phone, before connecting directly with the router. Because my phone defaults to the 5 GHz band, I figured that could be the issue.
It wasn’t.
Turned out it was just a bad switch. I ordered a new one, installed it, and it connected to the network without issue.
Final Verdict on Kasa Smart Switches
Despite a few hiccups with my home’s wiring and a switch falling out of connection, I would definitely recommend the Kasa line of smart switches. Their app is streamlined, easy to understand and has a wonderful user experience. Plus, if you have other smart products from their line, they can all be controlled with the one app.
Smart assistant integration makes the whole experience even cooler. The products are also affordable for the features you get. And the minimal look of the switches integrates easily into most any décor.

Where to Buy
You can get them at most major electronics retailers, big box stores and online. The company’s products are also available on Amazon. They are sold singly or in packages of two or three. Prices range from $13 to $50.
Article source here: We Tried It: Kasa Smart Light Switches


No comments:
Post a Comment